Hey gang! A few weeks ago I taught a small workshop on how to build safe foam arrows for use in Amtgard.
Materials
– Gamma practice tennis balls or foam stress balls, 2.5 inch diameter
– Plank foam (1 inch thick) or puzzle mat (.5 inch thick)
– Pool noodle, 2.5 inch diameter
– Pennies
– ½ inch CPVC pipe
– Super 77 spray adhesive
– Heavy-duty double-sided carpet tape
– Clear shipping tape
– Electrical tape
– Cloth athletic tape
– Fabric of your choice (rip-stop nylon is awesome)
– Carbon, graphite or fiberglass arrow shafts, heads completely removed.
Tools
– Sharp serrated knife
– Scissors
– Hand hobby saw
– Sharpie
Instructions
1. Using the knife, cut your ball in half. Most will have a seam through the middle of the ball — use that as a guide.
2. Place the half ball face down on the flat foam and trace around it to draw a circle the same size as the ball. Cut out the circle. You’ll need one per arrowhead if using 1 inch plank foam. If using .5 inch puzzle mat foam, you’ll need two per head — use the spray adhesive to glue them together, putting weight on them to bond them firmly. The result should be a 1-inch thick foam disc for each arrow you want to make.
3. Using the Sharpie and saw, mark and cut a 2.5-inch piece of pipe. Pull a 2-inch strip of shipping tape and cut it in half along its length, laying the strips sticky-side up. Place a penny in the middle of one strip and cap one end of the pipe with the penny, strapping the tape down to secure it. Cross the other strip of tape down over the penny, perpendicular to the first strip. Then take one more strip of tape and wrap it tightly around the end of the pipe below the penny several times, securing the penny and the tape holding it down. 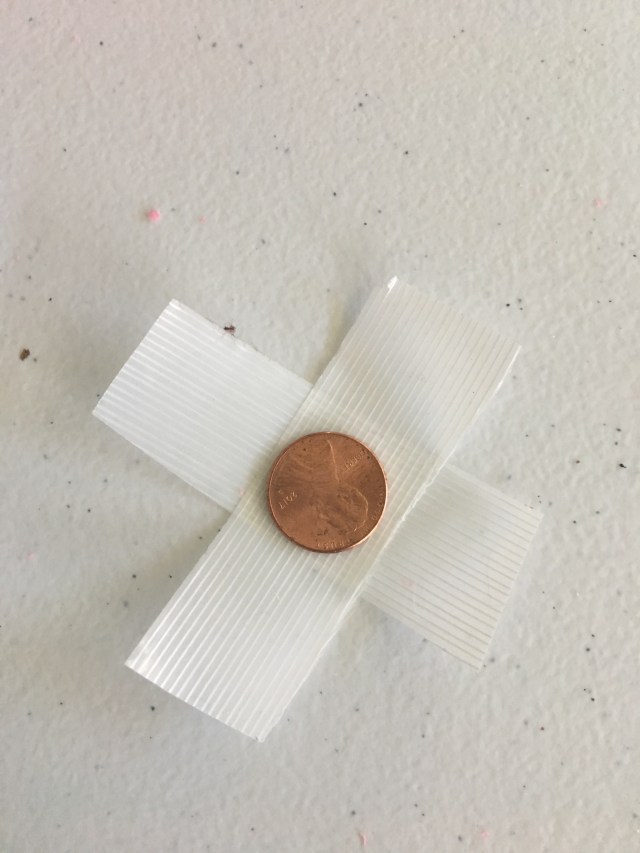
 .
.
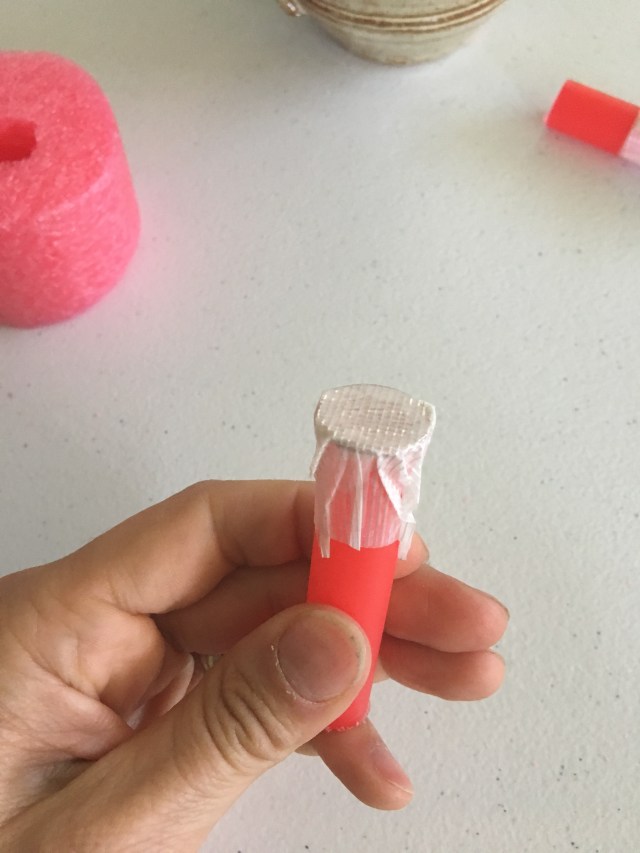
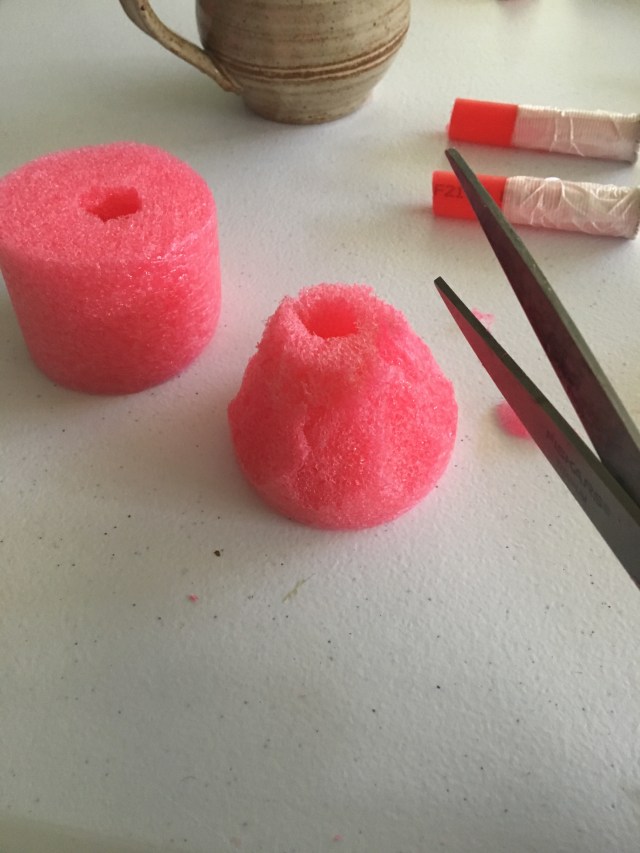
4. Spray a coat of adhesive around the pipe attached to the penny and set it aside to cure for a few moments. Meanwhile, cut a 2-inch length of pool noodle, using the scissors or knife to trim it into a cone shape with one flat end. When the adhesive on the pipe is tacky, slide the pipe into the pool noodle from the flat end of the cone until the penny lies flat against the foam. Squeeze the cone gently until the foam bonds to the pipe. 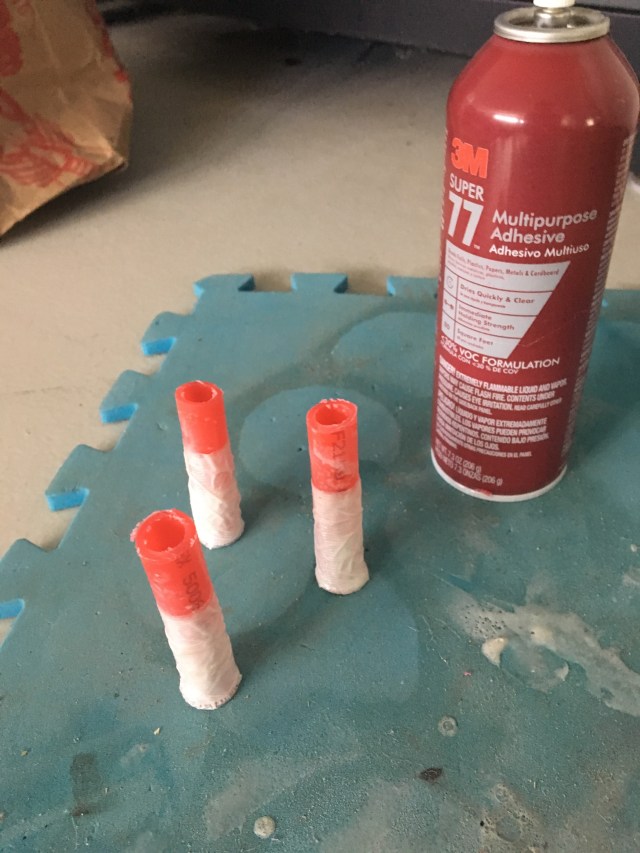
 .
.
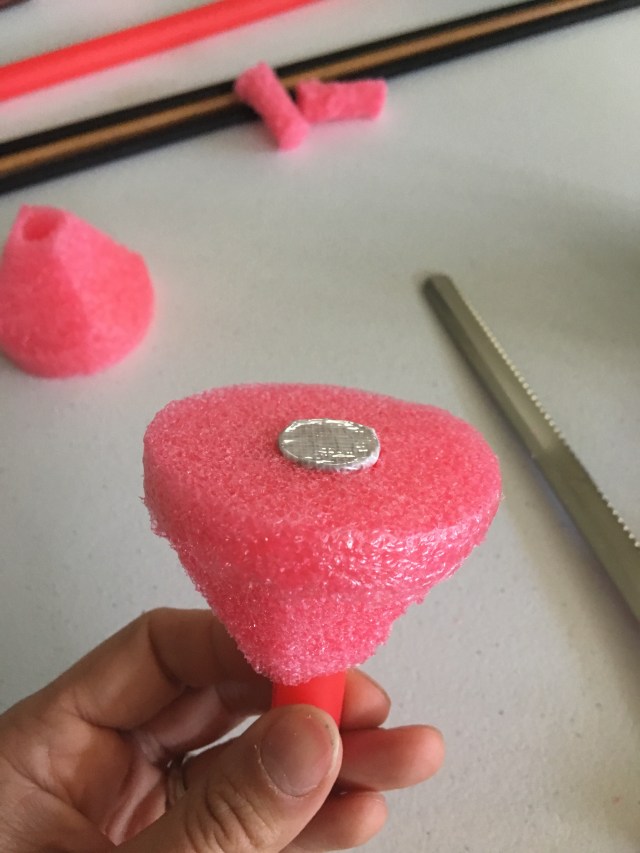
5. Cut two 2.5 inch strips of double-sided tape and lay them in an X shape across the flat surface of the cone and the penny. Press a foam disc firmly onto the tape. 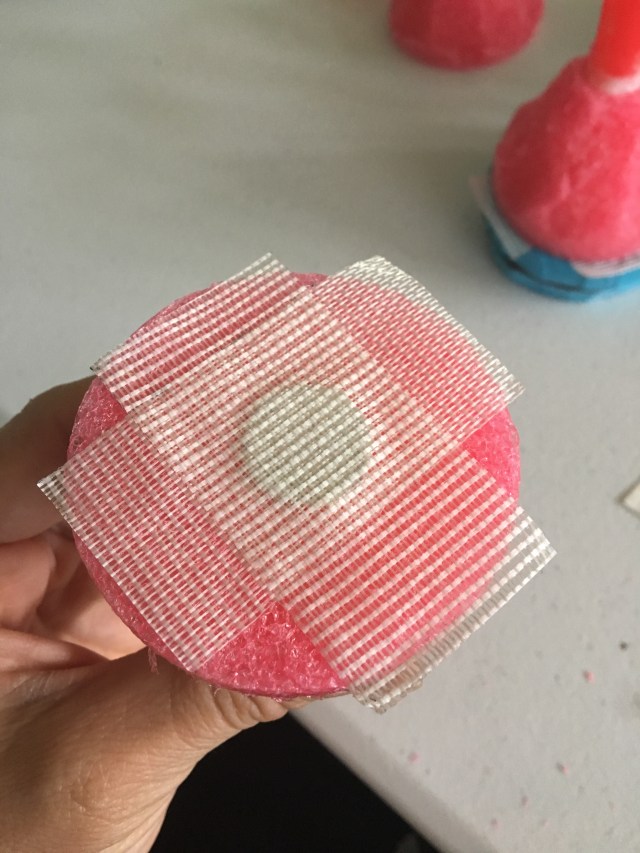 .
.
6. Make another X of double-sided tape and apply it on top of the foam disc. Take one of the foam ball halves and press it firmly onto the tape. 
 .
.
7. Wrap a strip of shipping tape firmly around the middle of the arrowhead, making sure the tape is affixed to the foam cone, the foam disc, and the half ball.
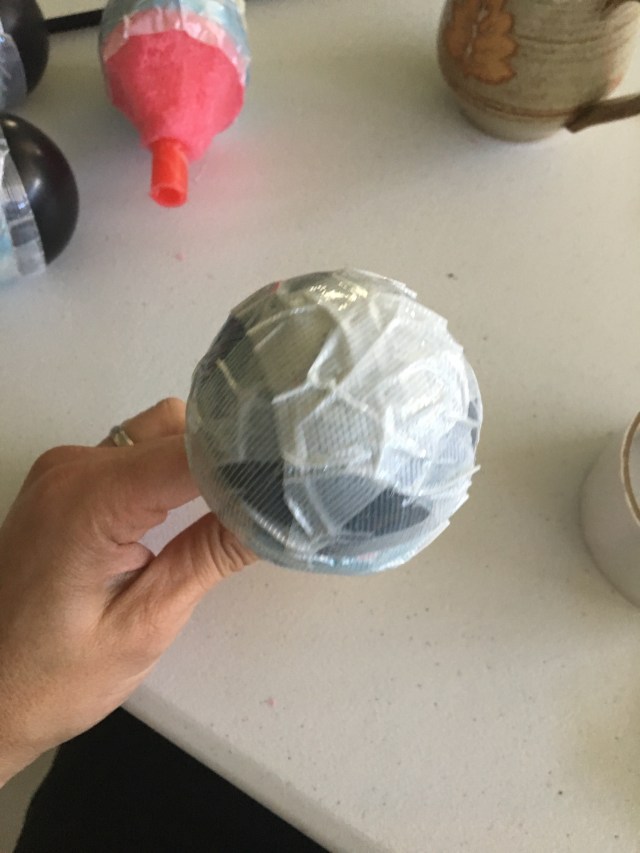
8. Cut a strip of shipping tape long enough to reach from the base of the cone, over the half ball, and back down along the opposite side of the cone. Press the tape down and secure the ends just onto the exposed end of the pipe. Repeat this two more times, so that the three strips of tape slightly overlap each other, covering the entire arrowhead assembly and pressing the tape tightly around the base of the cone. 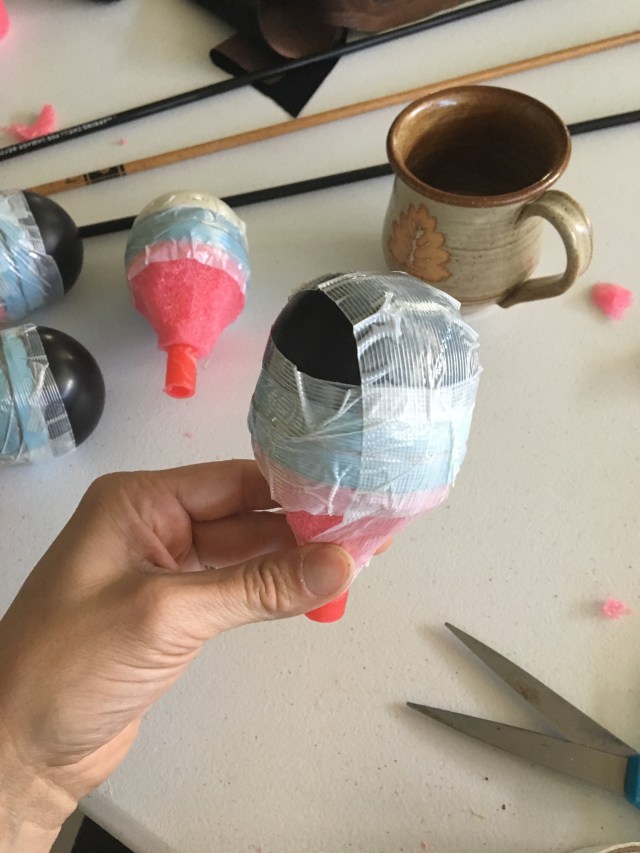
 .
.
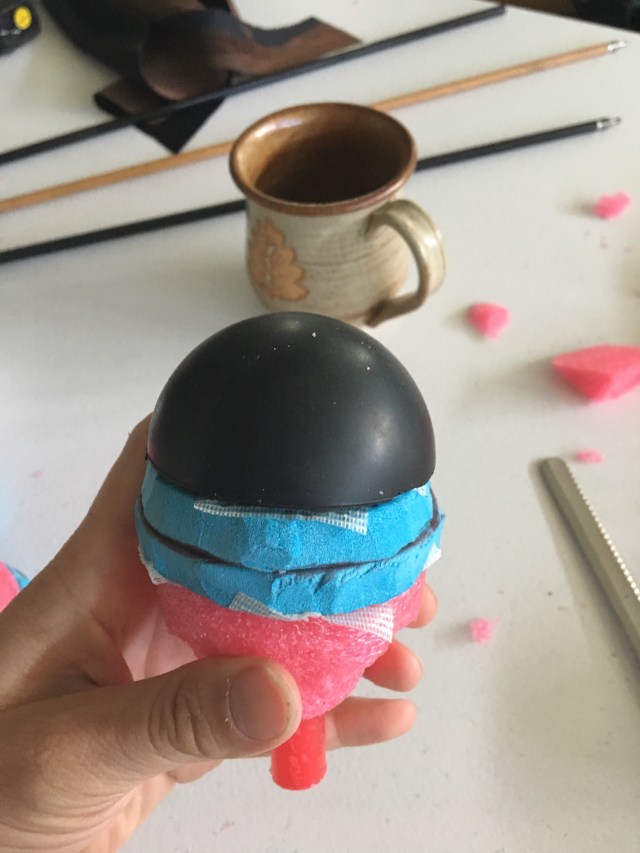
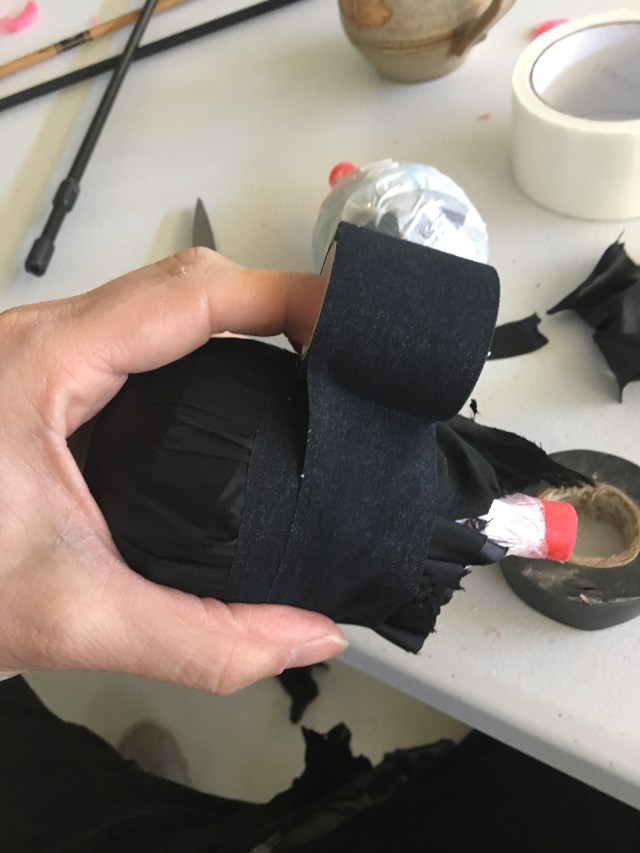
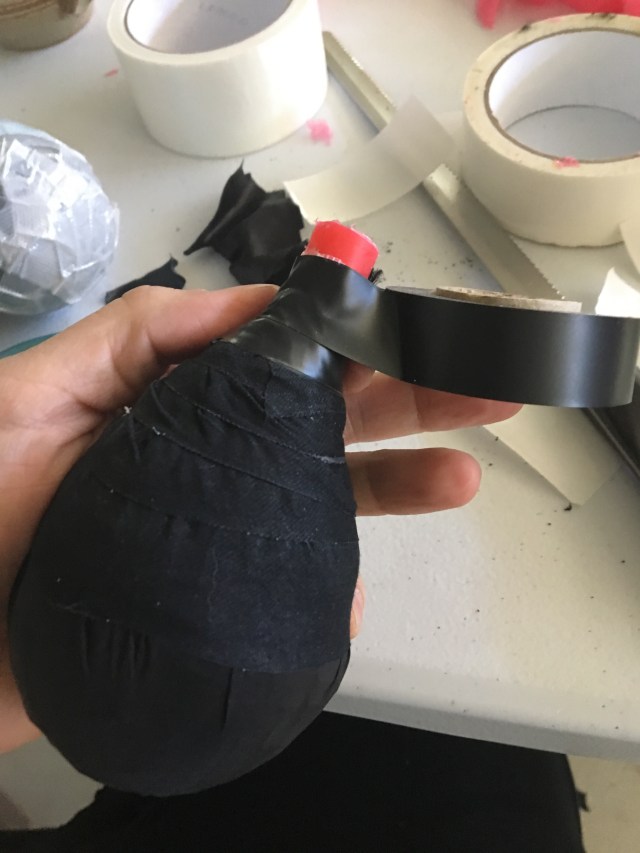
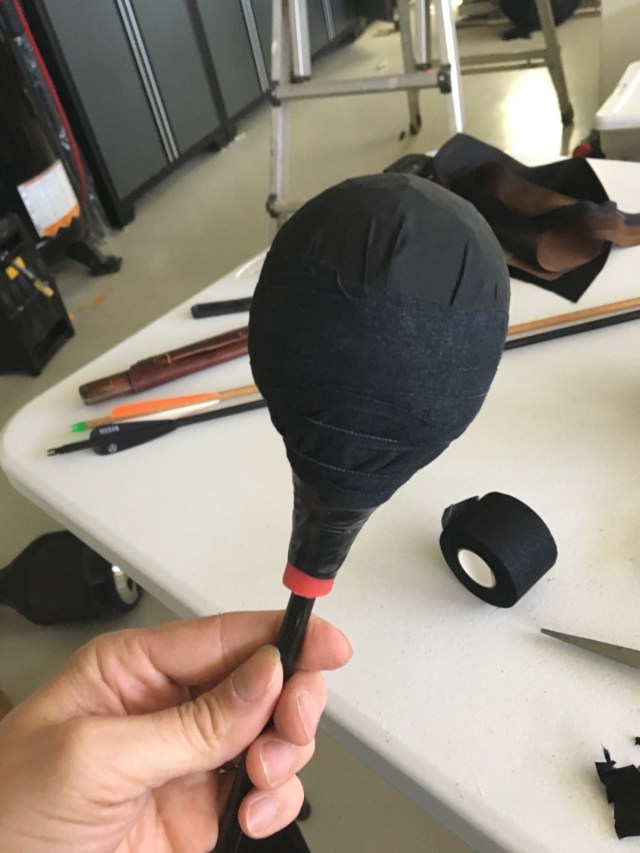
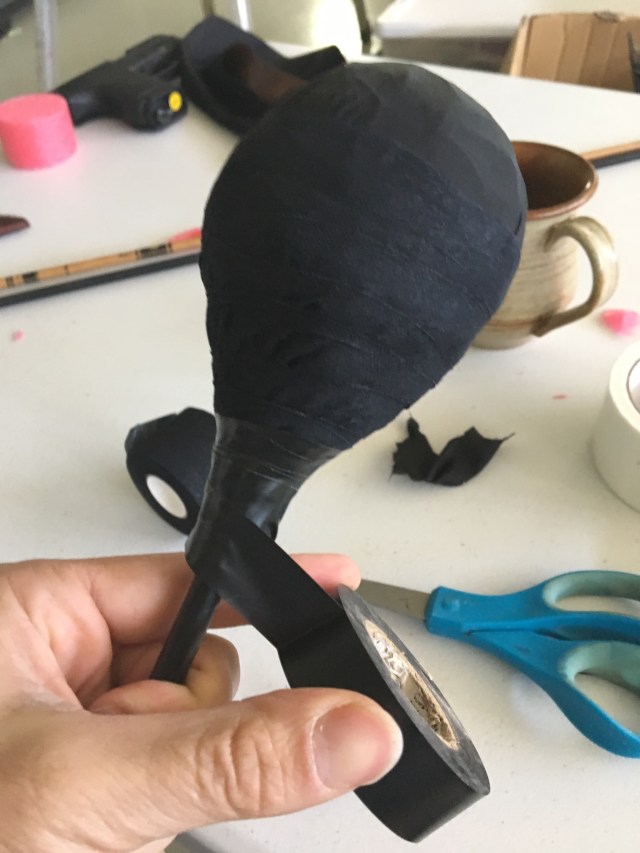
9. Stretch a piece of the fabric down over the round tip of the arrowhead, trimming the edges at the point where the disc meets the cone. Secure the fabric all the way around with athletic tape, tucking in any loose flaps or corners, and then continue wrapping the athletic tape all the way down to the base of the cone. Secure the end of the athletic tape to the exposed tip of pipe by tightly wrapping several layers of electrical tape. 
 .
.
10. The pipe will be loose on the arrow shaft. Wrap two strips of electrical tape around the shaft, one at the very end and one about an inch further down, until the two strips form rings around the shaft that just fit snugly inside the pipe of the arrowhead. Secure the arrowhead by tightly wrapping electrical tape over the joint between the pipe and the shaft, wrapping one piece of tape in one direction and then another in the opposite direction. 

I recommend making the first few one at a time to make sure you’ve got the technique down, but after that work in batches to maximize your time and efficiency. Enjoy your new bouquet of arrows!